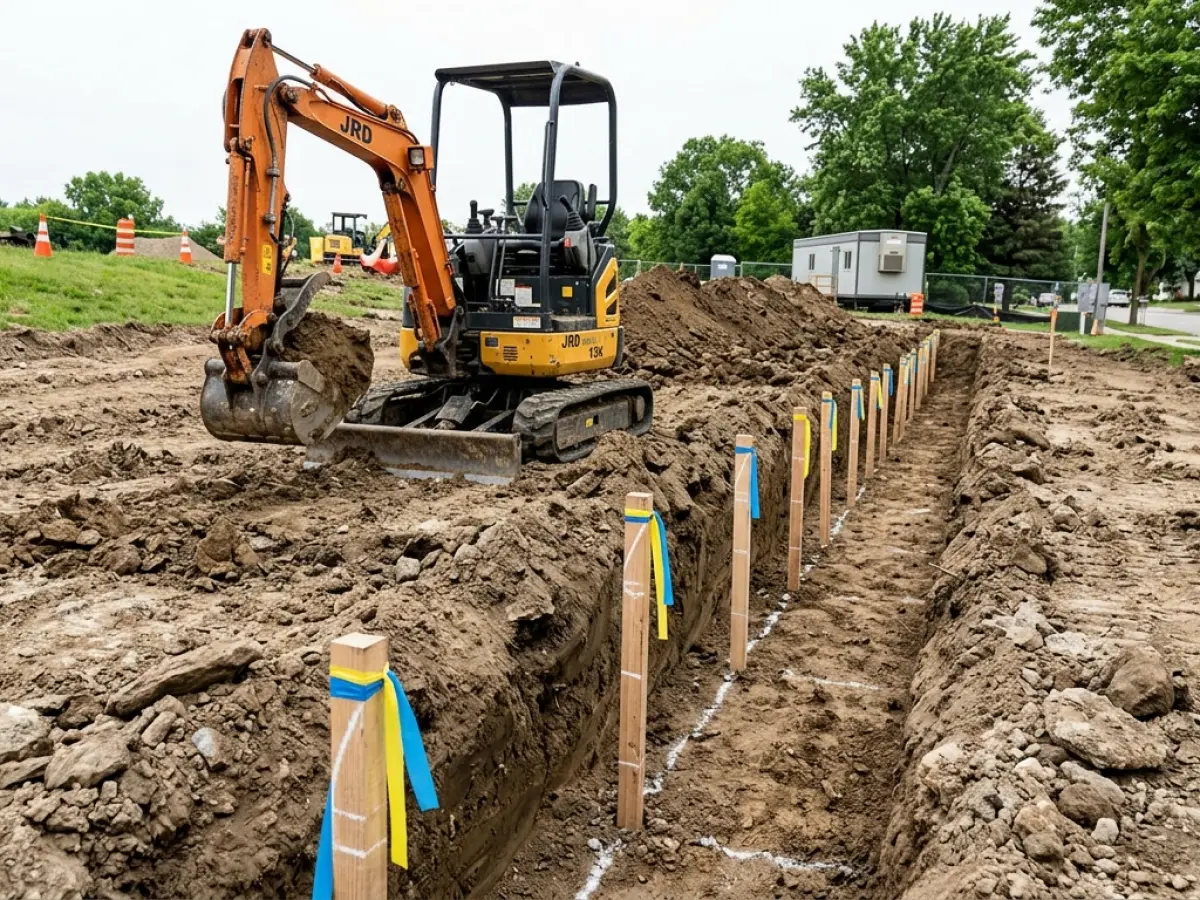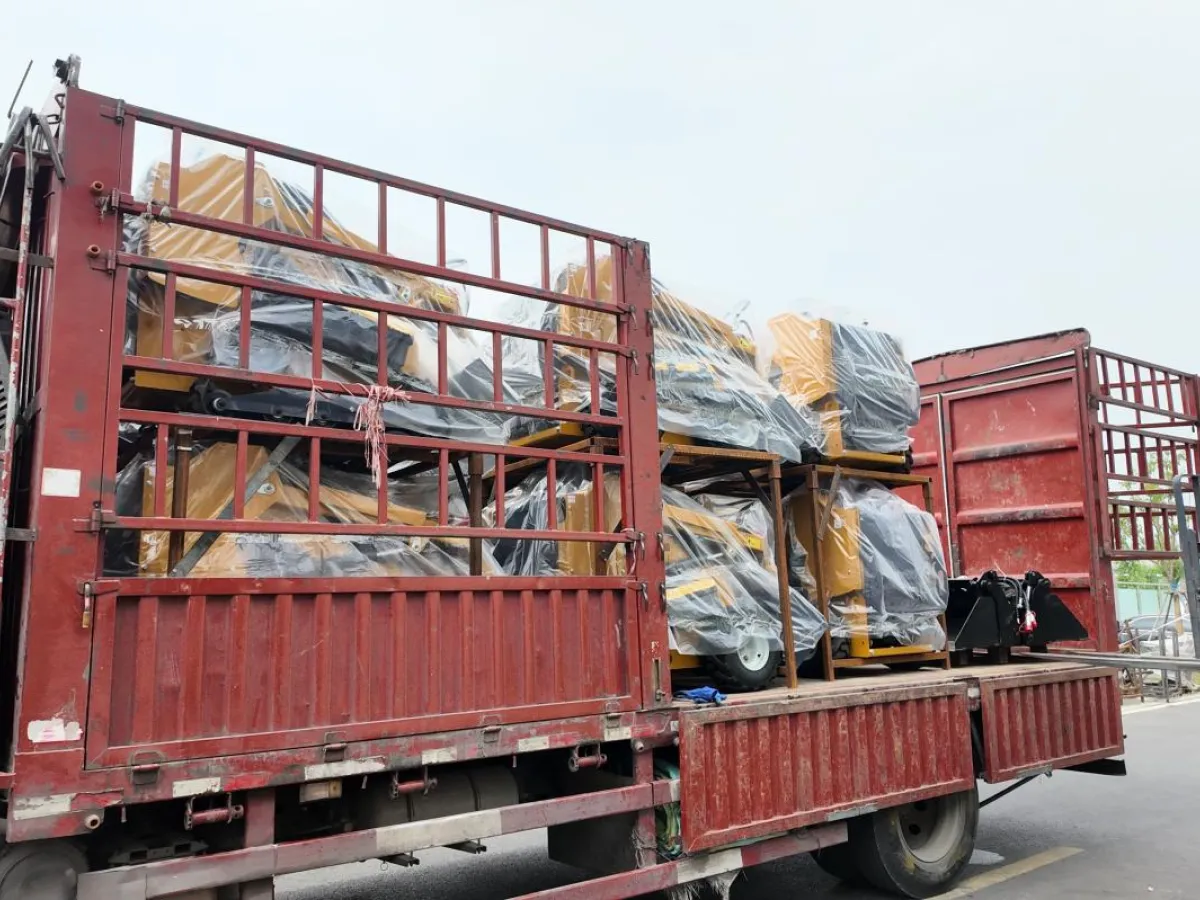




Digging a Residential Pool With a Mini Excavator — What Actually Works
Pool contractors who have switched from larger excavators to mini excavators on residential jobs often say the same thing: they do not go back. The machine fits through a standard side gate, leaves the surrounding lawn intact, and can be positioned precisely enough to stay within pool-shape tolerances without constant survey checks. Done right, a compact excavator handles the full dig on most backyard pools in a single working day.
Done wrong, the job runs over budget. The machine is underpowered for the depth, the operator runs out of swing radius when spoil piles too close, or the access is blocked before the dig is finished. This article lays out the decisions that determine which outcome you get.
Machine Class Selection — Why Size Matters More Than You Think
The most common mistake on pool jobs is under-specifying the machine. A 06 series (sub-700 kg) machine can dig loose soil in a plunge pool or spa shell, but it will struggle with the 2.5–3 m depth of a full-length pool once it needs to reach across its own spoil. Dig force becomes the constraint before power does.
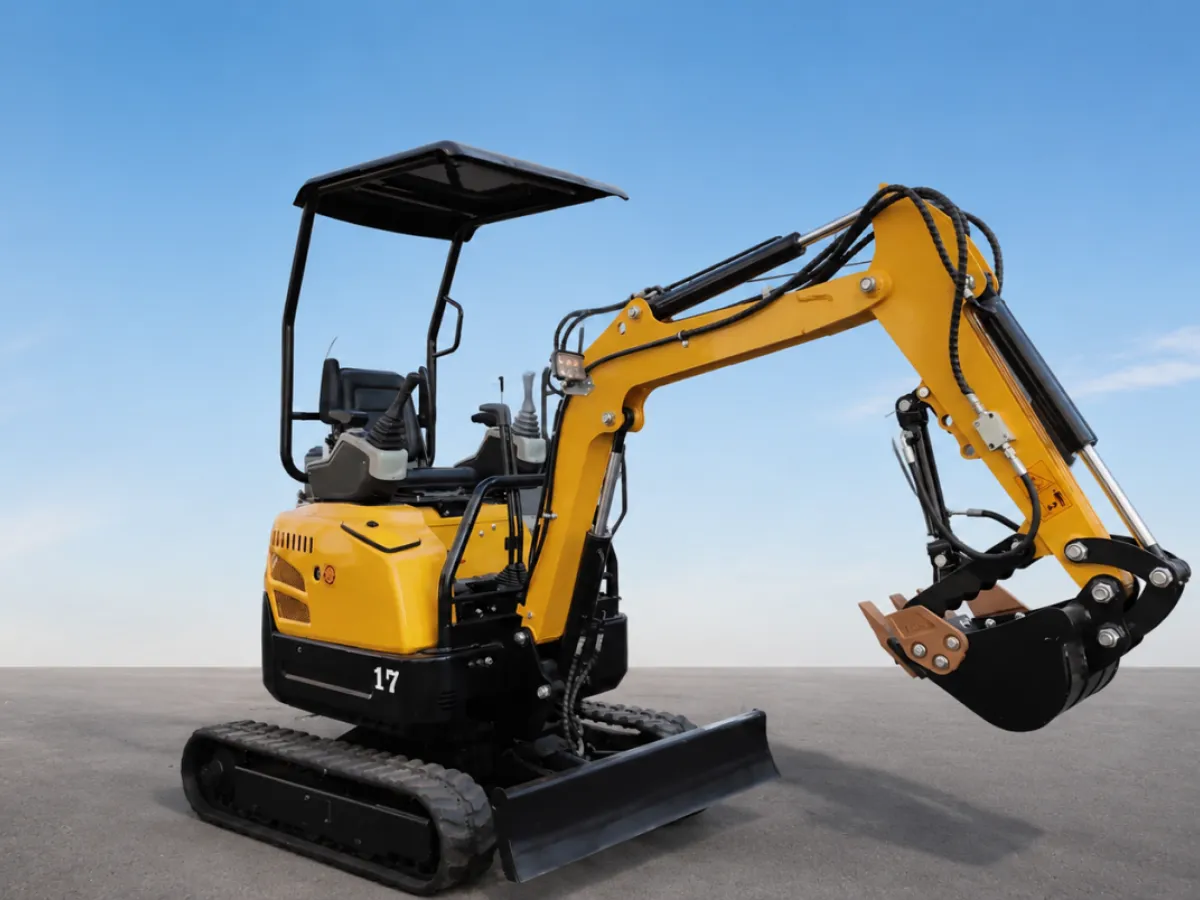
For a standard 8 m × 4 m rectangular pool to 1.8 m depth in medium clay, the practical minimum is a 15 series or 17 series machine (1,350–1,700 kg). The 17 series with 13.5 KN breakout force handles compacted subsoil without repeated tooth-raking, and its variable piston pump maintains consistent arm speed across the dig cycle even as load varies. For larger pools or deeper shells — vanishing-edge construction, for example — step up to 22 series or 25 series if gate access permits.
If access forces a smaller machine, the 16 series with telescopic undercarriage is the best compromise: narrow enough to pass through a 750 mm gate at minimum track width, wide enough at full extension to provide the stability needed at 2 m+ depth.
Access Planning — The Job Before the Job
Pool excavation in a residential backyard begins with access, not digging. The sequence that avoids costly surprises:
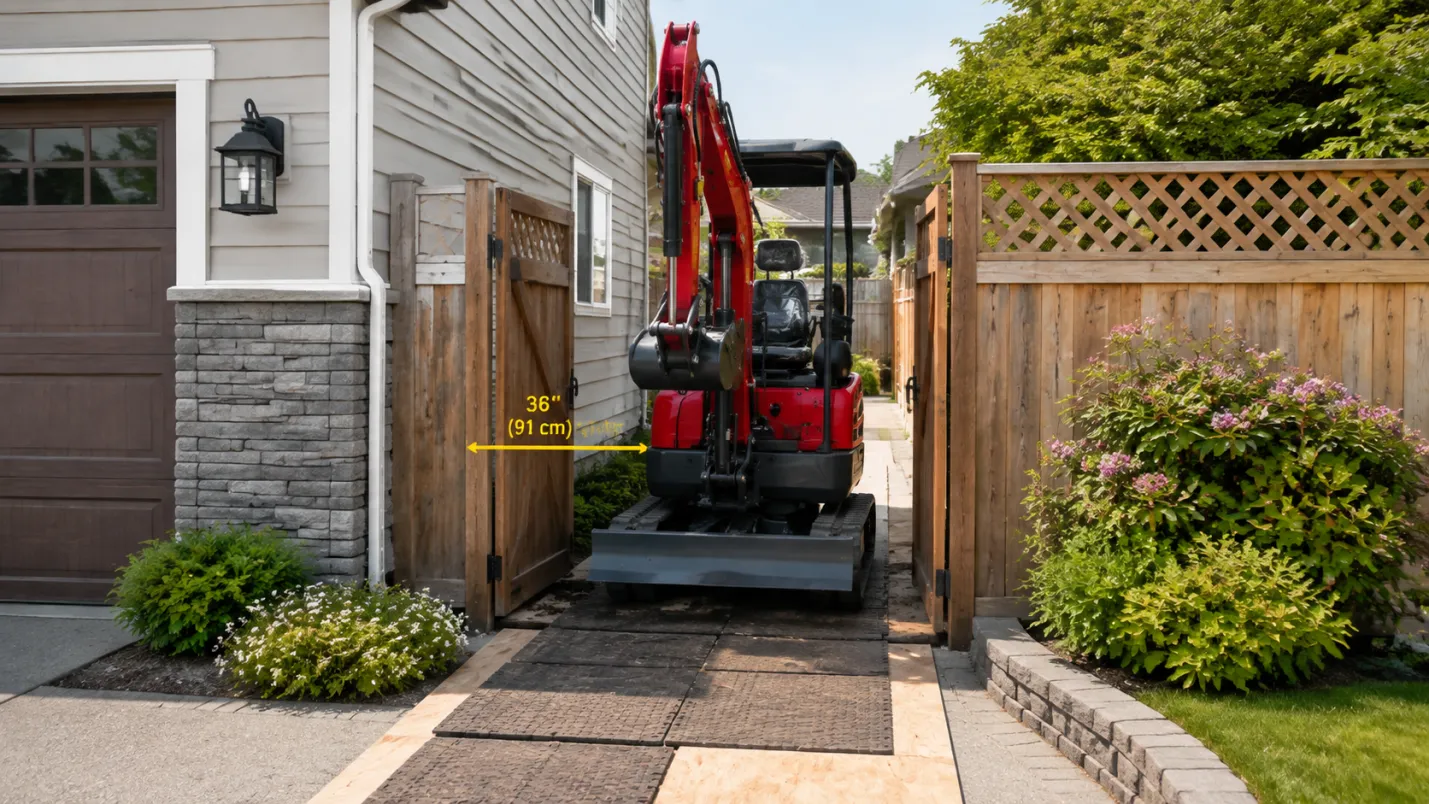
Measure the gate opening — not just the gate width but the swing arc of the gate and any overhead obstacle (power lines, pergola beams, fence posts)
Check the path width — 800 mm machines pass through 900 mm openings, but the turn radius from the side gate to the pool position may require a 1.2 m clearance run
Survey underground services — pool dig depth puts you in range of gas, water, and drainage lines that residential surveys often miss; mark and confirm before the machine moves
Plan spoil staging — a pool dig generates significant volume; establish where spoil goes before the first bucket comes out. A truck staged at the front drive, a conveyor over the fence, or a secondary area in the yard all require pre-planning
Protect existing surfaces — lay rubber matting or timber boards on the path from the gate to the dig zone; track marks on pavers are easier to prevent than to remove
Dig Sequence for a Rectangular Pool
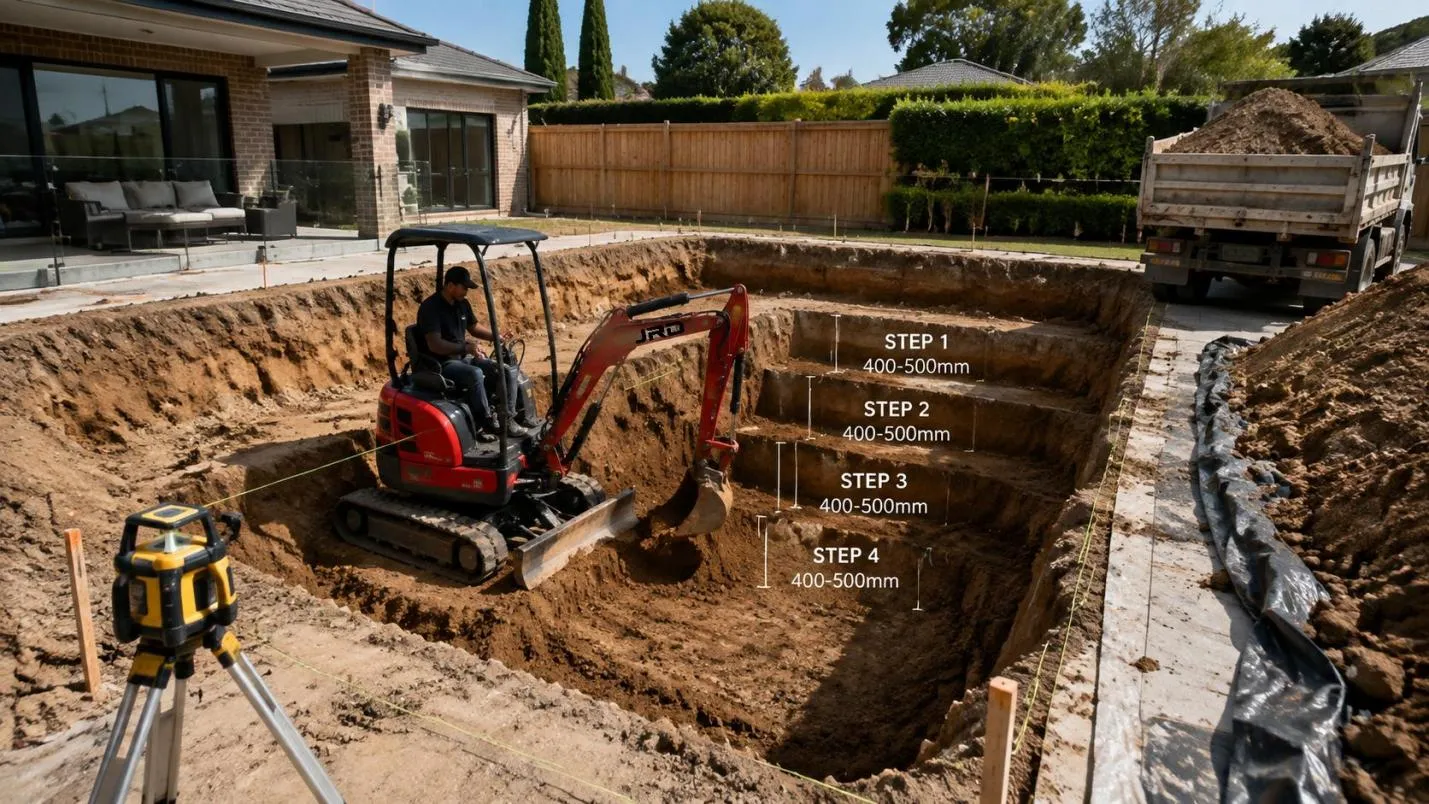
A pool dig is not just digging in a rectangle. The sequence matters:
Top strip — remove turf and topsoil from the full pool footprint plus 600–800 mm margin, and stockpile separately if it will be used for reinstatement
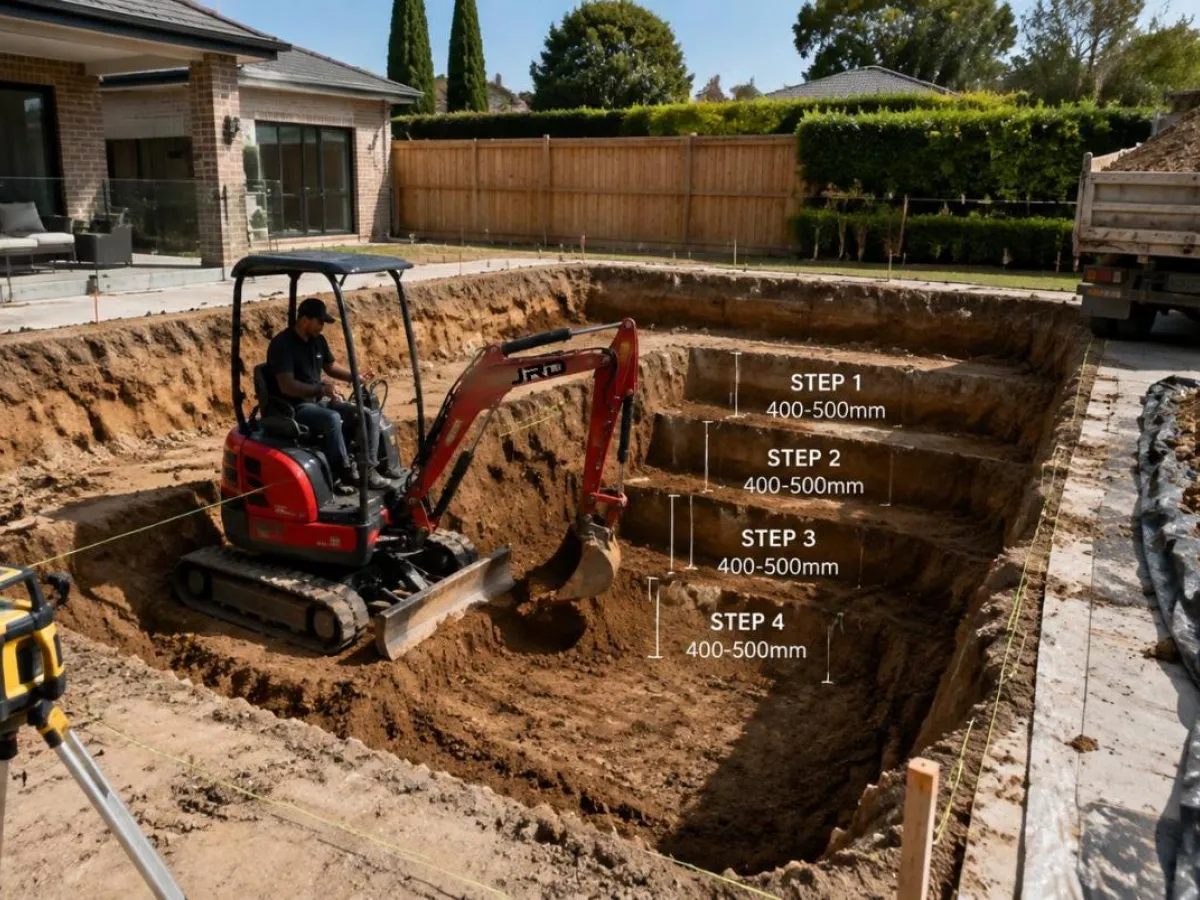
Step the excavation — do not dig to full depth in a single pass. Work in 400–500 mm lifts across the full plan area before going deeper. This keeps the dig face manageable and avoids wall collapse in softer soils
Establish the perimeter shelf — most pools have a ledge or bench detail at the waterline; dig this profile first while there is working room, before the machine is positioned at depth
Final trim to shell dimensions — the last 100–150 mm is hand-tool or precision bucket work; over-digging the shell boundary means extra blinding concrete cost
Sump dig — pool installers typically require a central sump 300–400 mm deeper than the pool floor for the main drain fitting; schedule this last, after floor level is confirmed
Spoil Management
A 50,000-litre pool displaces approximately 50 cubic metres of soil. At typical bulk density, that is 70–90 tonnes. This is the number most residential sites are not ready for when the machine arrives. Inadequate spoil planning is the leading cause of over-run on pool jobs.
Options in order of cost-efficiency:
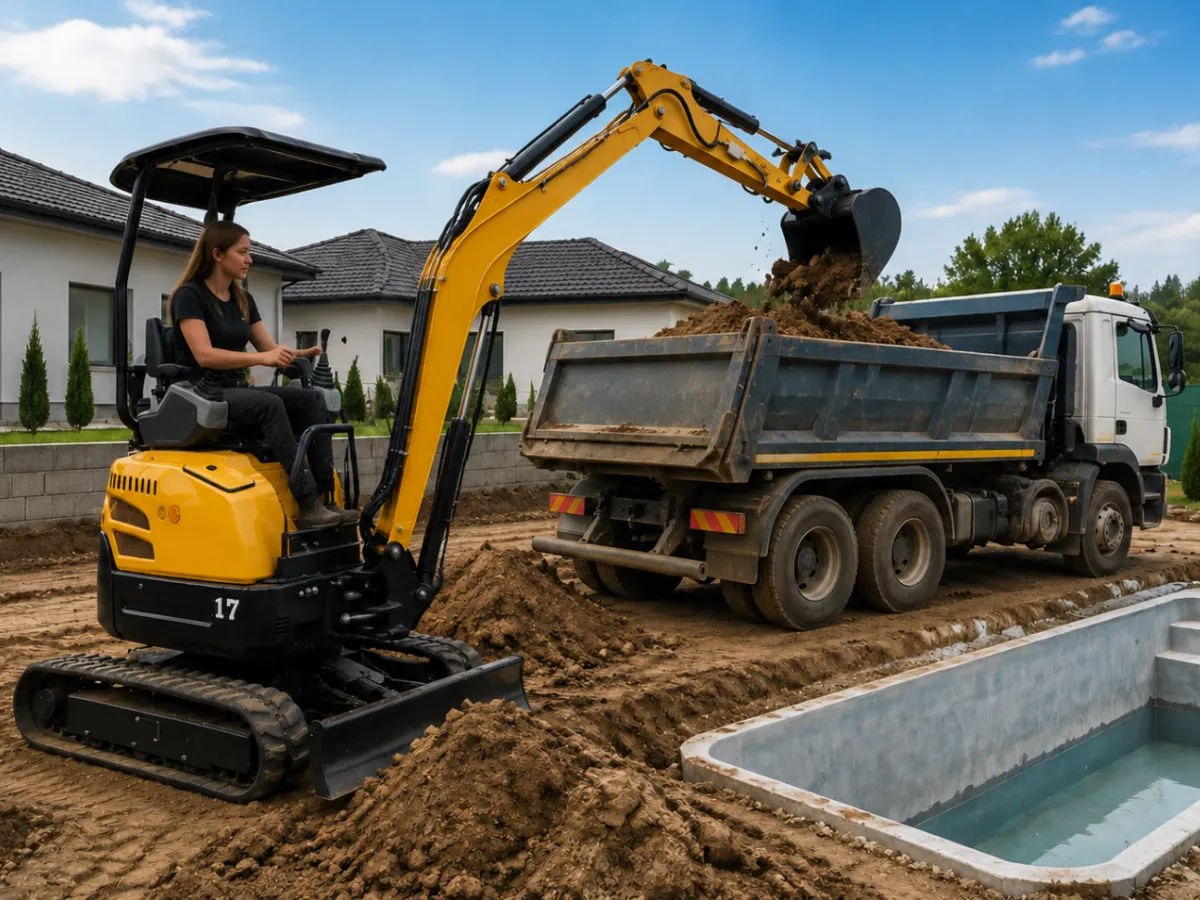
Direct-load to trucks — excavator swings to a truck parked on the driveway via a conveyor or extended dig radius; cleanest but requires truck scheduling to match machine output
Stage on lawn then truck — spoil is dumped in the yard, then loaded by machine into trucks in a second operation; adds a handling cycle but gives scheduling flexibility
Retain on site for backfill — where garden beds or low spots need filling, topsoil and subsoil can be separated and reused; eliminates haulage cost but requires space and separation discipline
Working at Depth — Stability and Safety
At 2 m+ depth, the risk profile of the dig changes. Trench wall collapse in unsupported excavations is a fatality risk, not just a cost issue. On a pool dig, the machine is working outside the trench (an advantage over pipe-laying work), but the operator and any workers near the wall face are at risk if a wall drops without warning.
Practical precautions for deep pool excavation:
Keep all workers a minimum of 2 m from any unsupported cut face deeper than 1.2 m
In sandy or granular soils, batter (slope) the wall faces rather than cutting them vertical
If water ingress occurs during dig, stop, assess, and dewater before continuing — wet soil loses cohesion rapidly
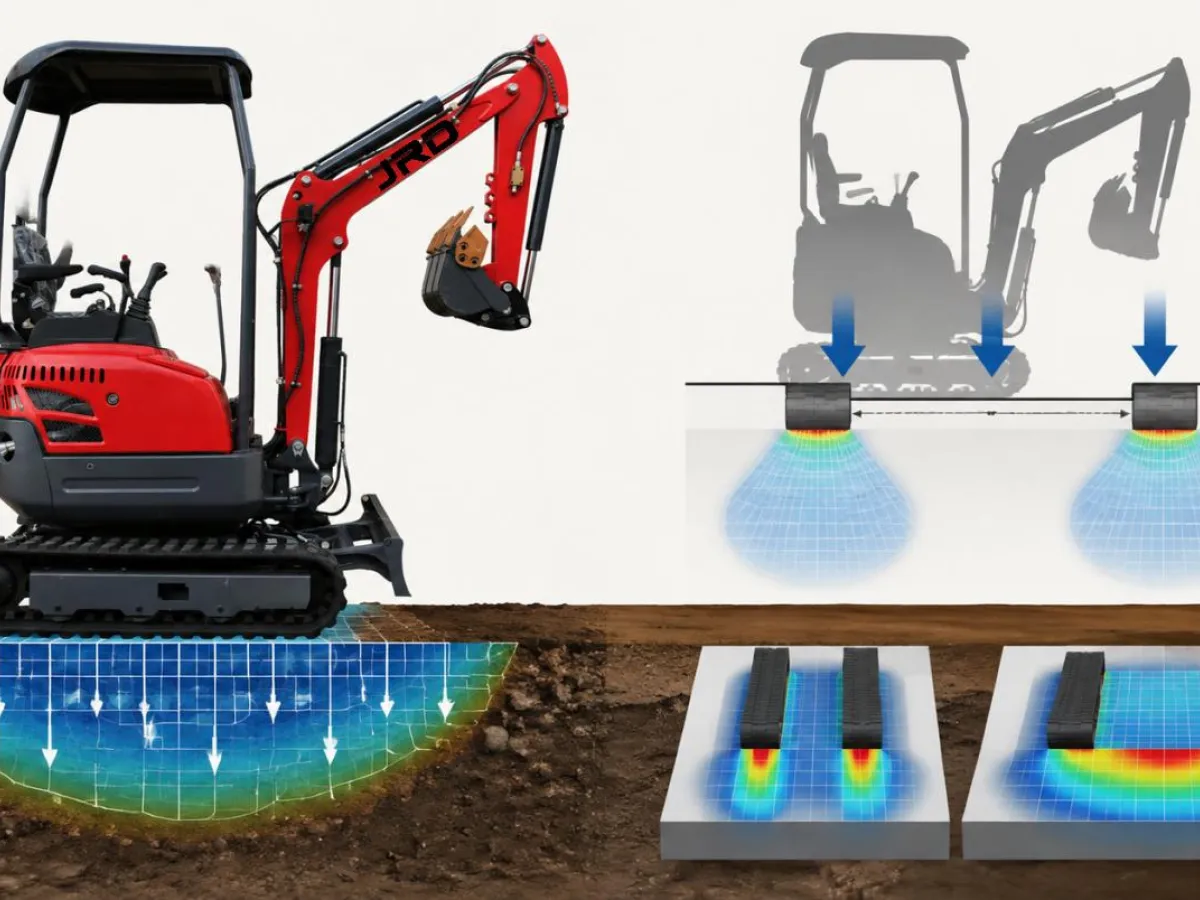
Machine stability: at full depth, the machine is on a raised spoil platform; ensure the ground underfoot is compacted and level before the machine is positioned at the dig edge
After the Dig — Handing Over a Clean Shell
The finish condition of the excavated shell directly affects the pool installation team's productivity. A well-prepared shell has: a level, compacted floor within ±20 mm of design level; vertical or correctly battered walls without loose material hanging; a clear perimeter bench profile if specified; and no water standing in the sump before the installer arrives.
The mini excavator finishes this work faster than any alternative on a residential site. The machine does not need to leave through the house — it exits the same gate it entered, the path is cleaned, and matting is removed. The pool installer walks into a clear, dimensionally correct excavation.
Conclusion
A mini excavator is the correct machine for most residential swimming pool excavation jobs, provided the class is matched to the soil and depth requirements. Under-specifying by one weight class adds a full day to the dig. Correct access planning prevents the majority of on-site surprises. And a clear spoil management plan before the first bucket moves is the single most effective thing an operator or contractor can do to keep the job on schedule.
The 17 series and 16 series with telescopic undercarriage are the most versatile choices for this work — capable enough for the dig force required, and compact enough for the access constraints that define most residential pool installation sites.
Digging a residential swimming pool with a compact excavator is about matching the right machine to the right site conditions — access width, soil type, depth requirements, and spoil management. Our range includes 1.5-1.7 tonne class machines with telescopic undercarriage options for tight backyard access, plus 2.2-2.5 tonne models for larger pool projects. We can advise on machine selection, track width configuration, and attachment options for precise shell trimming. CE and EPA-compliant models available for export to Europe, North America, and Australia.
Get in touch for expert advice or a quote:
Email: info@jrdmachinery.com
Whatsapp: +86 136 9536 6564
Website: www.jrdmachinery.com